# Getting Started
You'll need access to our Airtable workspace in order to access the bases. Please request access from a member of the Healthy Corners team.
Additionally, you must have been added to the Heroku project as well as the Google project as a collaborator.
# Setup
Requirements
Install
yarnandNodeusing your favorite package manager (we recommend Homebrew (opens new window) for macOS users). We useyarninstead ofnpmbecause that's what the other two apps use, and we want to be consistent.Clone the repo and install dependencies
- Clone this repo using
git clone - Run
yarn installin the downloaded repo. This will install all dependencies that are listed inpackage.json.
- Clone this repo using
Add
.envWe use
.envas our config file for secrets and API keys. Duplicate.env.example, name it.env, and fill in all missing fields.- All Twilio credentials can be found in the Project Info section of the Twilio Console (opens new window).
APPIAN_API_KEYcomes directly from Appian -- ask the Healthy Corners administrators for the key, or ask for someone to contact from the Appian team.- Airtable: if you are the primary developer and have access, use the healthycornersdev account's API key and other relevant information. See Airtable's guide on how to find your API key (opens new window).
TIP
Some of these are specifically for using the
airtable-schema-generatorpackage.VS Code Setup (
ESLintandPrettier)We develop with Visual Studio Code (opens new window) as our editor. It has a packed marketplace of extensions that you can install; the useful ones in our case are a code linter and formatter -
eslint(searchExtensionsfordbaeumer.vscode-eslint) andprettier(searchExtensionsforesbenp.prettier-vscode), respectively. These are dependent on certaindevDependenciesfound inpackage.json:eslint-plugin-react,eslint-config-prettier, etc but should all be installed already viayarn. The rules for the linter and formatter are in.eslintrc.jsandprettier.config.js. The configuration for VS Code is shared and enforced across developers for this project; it's found in.vscode/settings.json.NOTE
We noticed that because VS Code and Prettier (the extension) sometimes conflict with their formatters, formatting can be slightly inconsistent even with the
formatOnSaveoption in VS Code'ssettings.json. See this for more: https://github.com/prettier/prettier-vscode/issues/716 (opens new window). Thus, we runprettierin a pre-commit hook usinghuskyandlint-staged.
# Contributing
More details on how the application works in Application Overview.
NOTE
This application is set up with babel-node to allow import/export syntax instead of require syntax. Thus, running .js files requires yarn babel-node as a prefix - e.g yarn babel-node index.js instead of node index.js.
# Development Lifecycle
Most of the information in the customer/clerk documentation still holds true, with some exceptions:
- There was initially only one developer for this repo, so no PRs were really made, though that can and should change (^:
- This repo does not use
yarnhook - This repo uses
pretty-quickinstead ofprettierfor the pre-commit hook - This repo doesn't have any fun scripts - just
startandgenerate-schema
# Working with Airtable
You'll need to fill in REACT_APP_AIRTABLE_API_KEY with your personal API key once you have access to the workspace. This can be found in your Airtable account overview page (opens new window). You should never commit this key! In the unfortunate event that you do, click "Regenerate API key" on the same page.
First, read through the general "Working With Airtable" page for an introduction to working with Airtable and the airtable-schema-generator package, which generates custom helper functions based on a specific Airtable base's configuration, or "schema".
In our code, we only ever call functions in request.js; see utils/storeProducts.js for example usage of the helper functions.
# Working with Dates
It's a well-known fact that the naive Javascript Date objects are difficult and can be unreliable. The easiest thing to do is use moment.js (opens new window). Don't waste time (^:
# Interacting with the application
You can reach the API through an HTTP request (we recommend using Postman (opens new window)). All API calls are locked via a HC_SECRET. This secret key can be found in Heroku's config vars (which should match the local .env).
Example 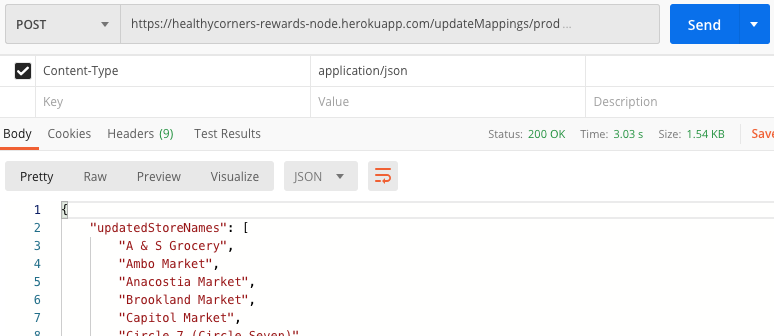
Note that you must add the Content-Type: application/json header. Then, the Body (select raw for format) of the request in its expected format:
{
  "key": "<HC_SECRET>"
}
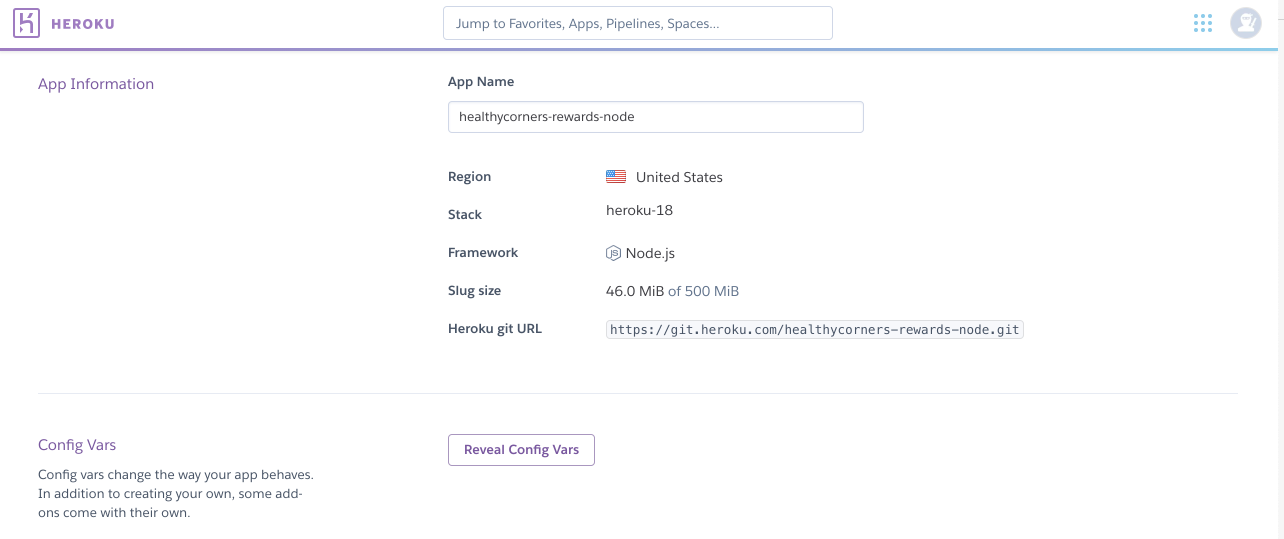
# Deploying with Heroku
Follow the instructions here (opens new window) to get set up as a collaborator. NOTE: The Healthy Corners developer Gmail already has an account with access.
# Config vars
Heroku config vars are exposed to the application's code as environment variables. Thus, all necessary variables in the local .env have been set directly in heroku config.
WARNING
Please do not add your Airtable email and password to the config vars, as they are only ever used for local development with the airtable-schema-generator.
You can access or update config vars via the Heroku dashboard.
Notably, the REACT_APP_AIRTABLE_API_KEY is personal to individual developers; the HC_SECRET securing POST routes is also a member of the config variables.
# Deploying
To push new changes and deploy, run
git push heroku main
WARNING
Be sure to push your changes to the canonical repository (typically with git push origin main) as well as to the Heroku remote.
Once the application is up and running, you will see this on the application homepage:

# Heroku Scheduler
Scheduler is a free add-on for running jobs on your app at scheduled time intervals, much like cron in a traditional server environment.
It's perfect for our particular use case, and is why we deployed with Heroku (recall that this documentation site is hosted on and auto-deploys with Netlify).
This is what the scheduler dashboard (opens new window) looks like:

With the job editor, you can configure how often you want the scheduled job to run. It's currently set to run daily at 5pm eastern time.

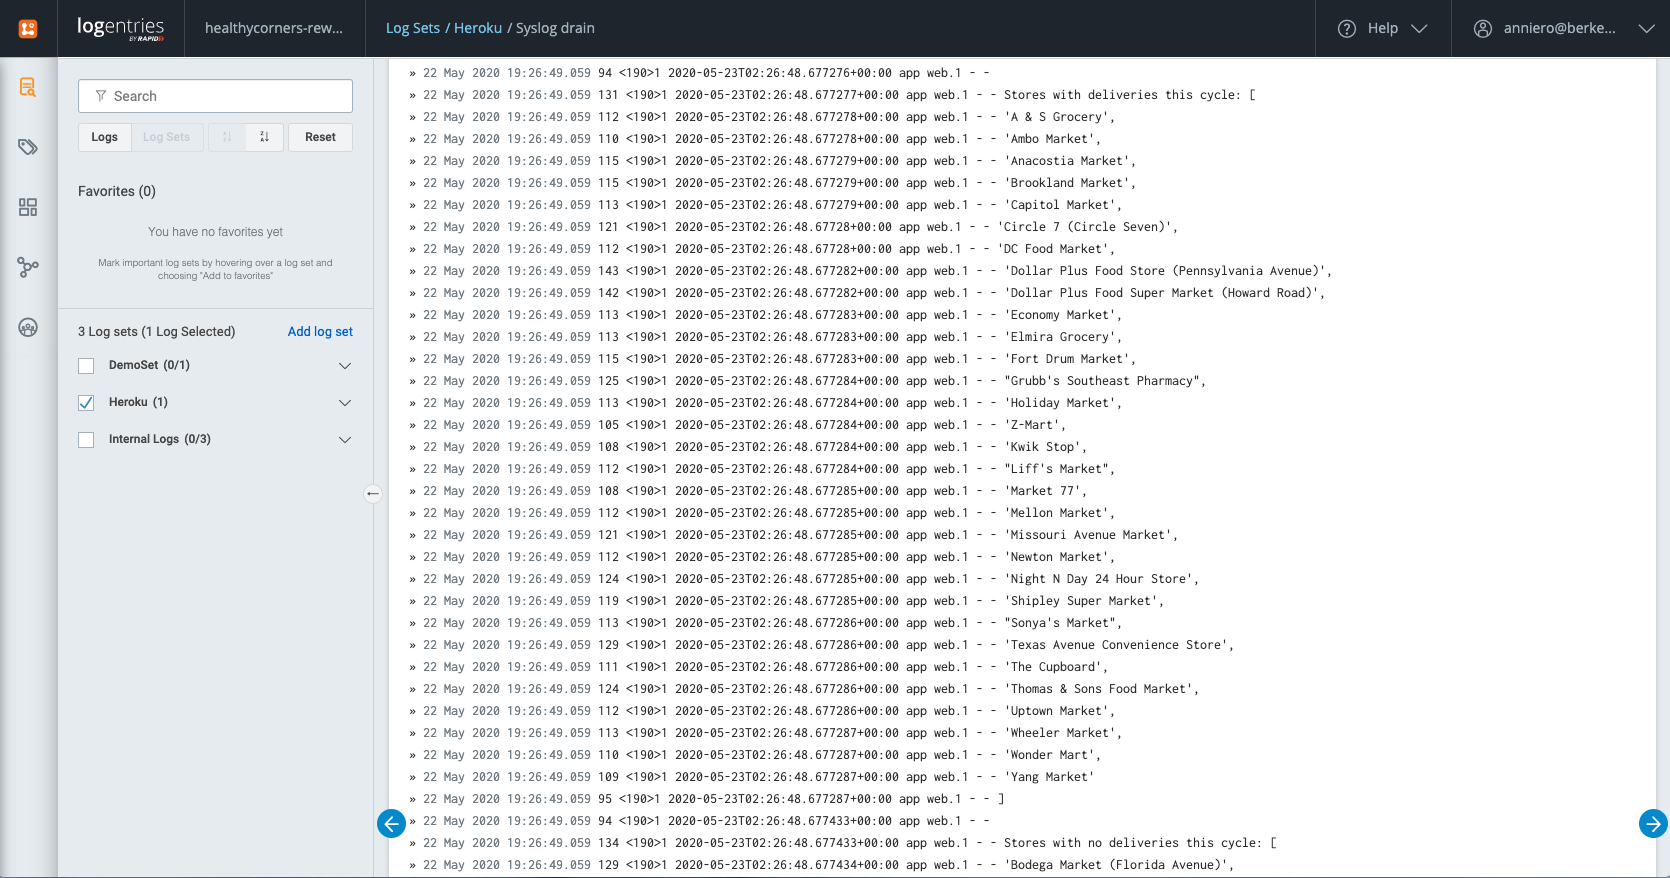
# Logentries
Logentries (opens new window) is a free add-on for monitoring your application and viewing logs.
We've installed it because we might want to inspect the console.log output of the scheduled job. Logentries will also send email notifications when the server crashes.
# References
Deploying
- https://devcenter.heroku.com/articles/deploying-nodejs (opens new window)
- https://devcenter.heroku.com/articles/config-vars (opens new window)
- https://erickar.be/blog/running-a-cron-job-with-node-js-and-heroku (opens new window)
- http://www.modeo.co/blog/2015/1/8/heroku-scheduler-with-nodejs-tutorial (opens new window)